> For the complete documentation index, see [llms.txt](https://legacy-docs.usesmileid.com/llms.txt). Markdown versions of documentation pages are available by appending `.md` to page URLs; this page is available as [Markdown](https://legacy-docs.usesmileid.com/integration-options/web-mobile-web/javascript-sdk-beta/usage-1.md).
# Usage-1
After installation and necessary imports:
1. Add the desired markup to your page/component:
* **For Selfie Capture / Liveness Images Only**:
```html
```
* **ID Images only**:
```html
```
* **For Selfie Capture / Liveness and ID Images**:
```html
```
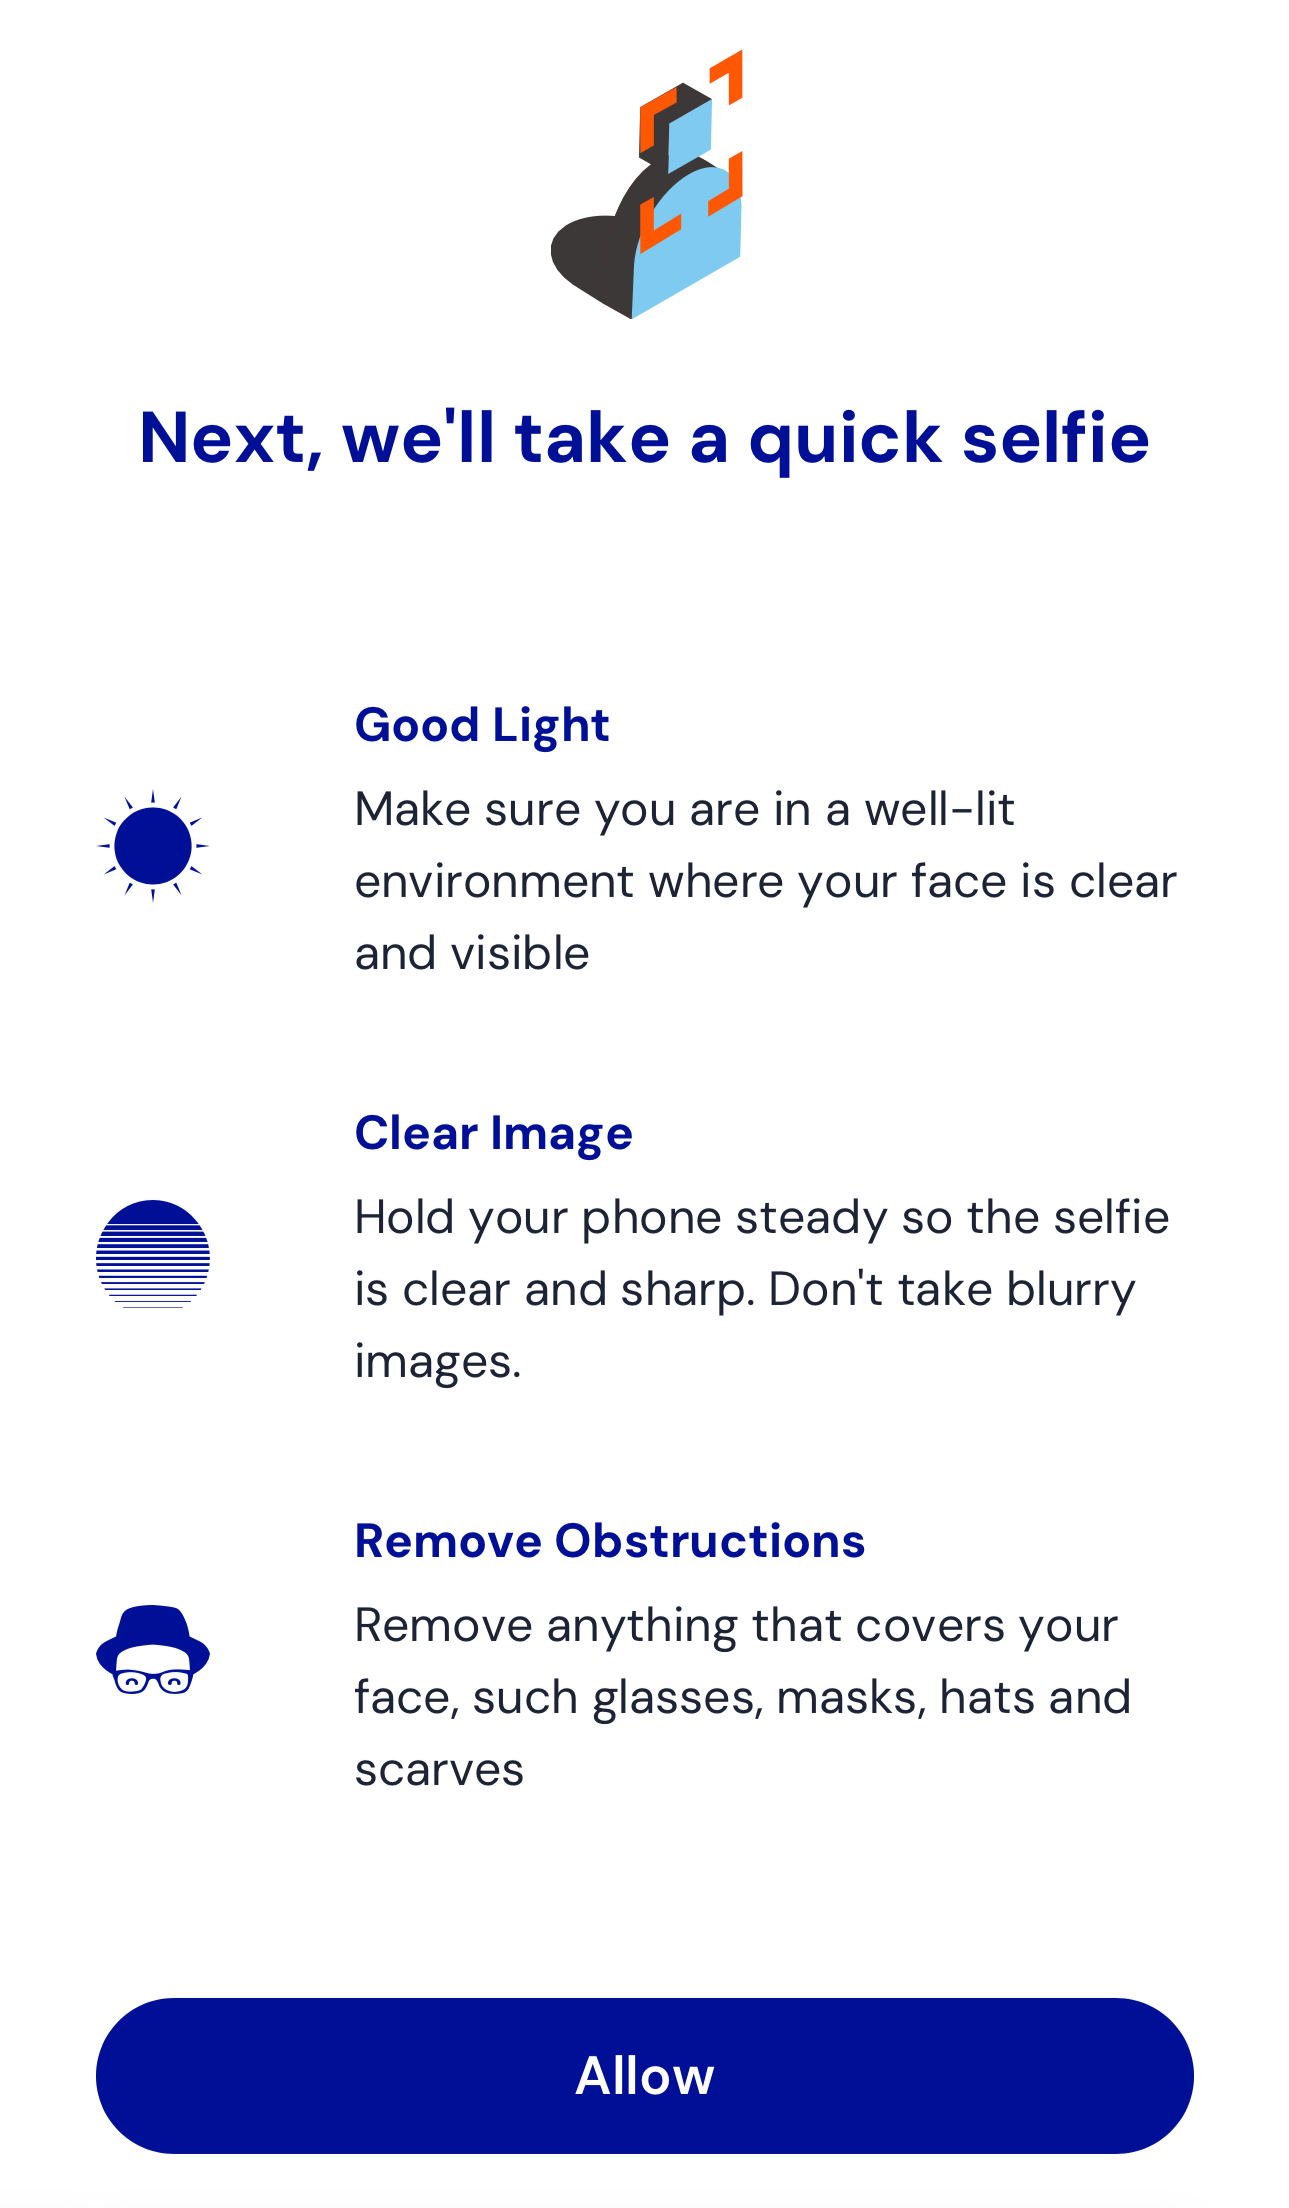
**Selfie Capture**
Initially, you'll see this instruction screen, guiding the user on best practices for good sefie capture:\
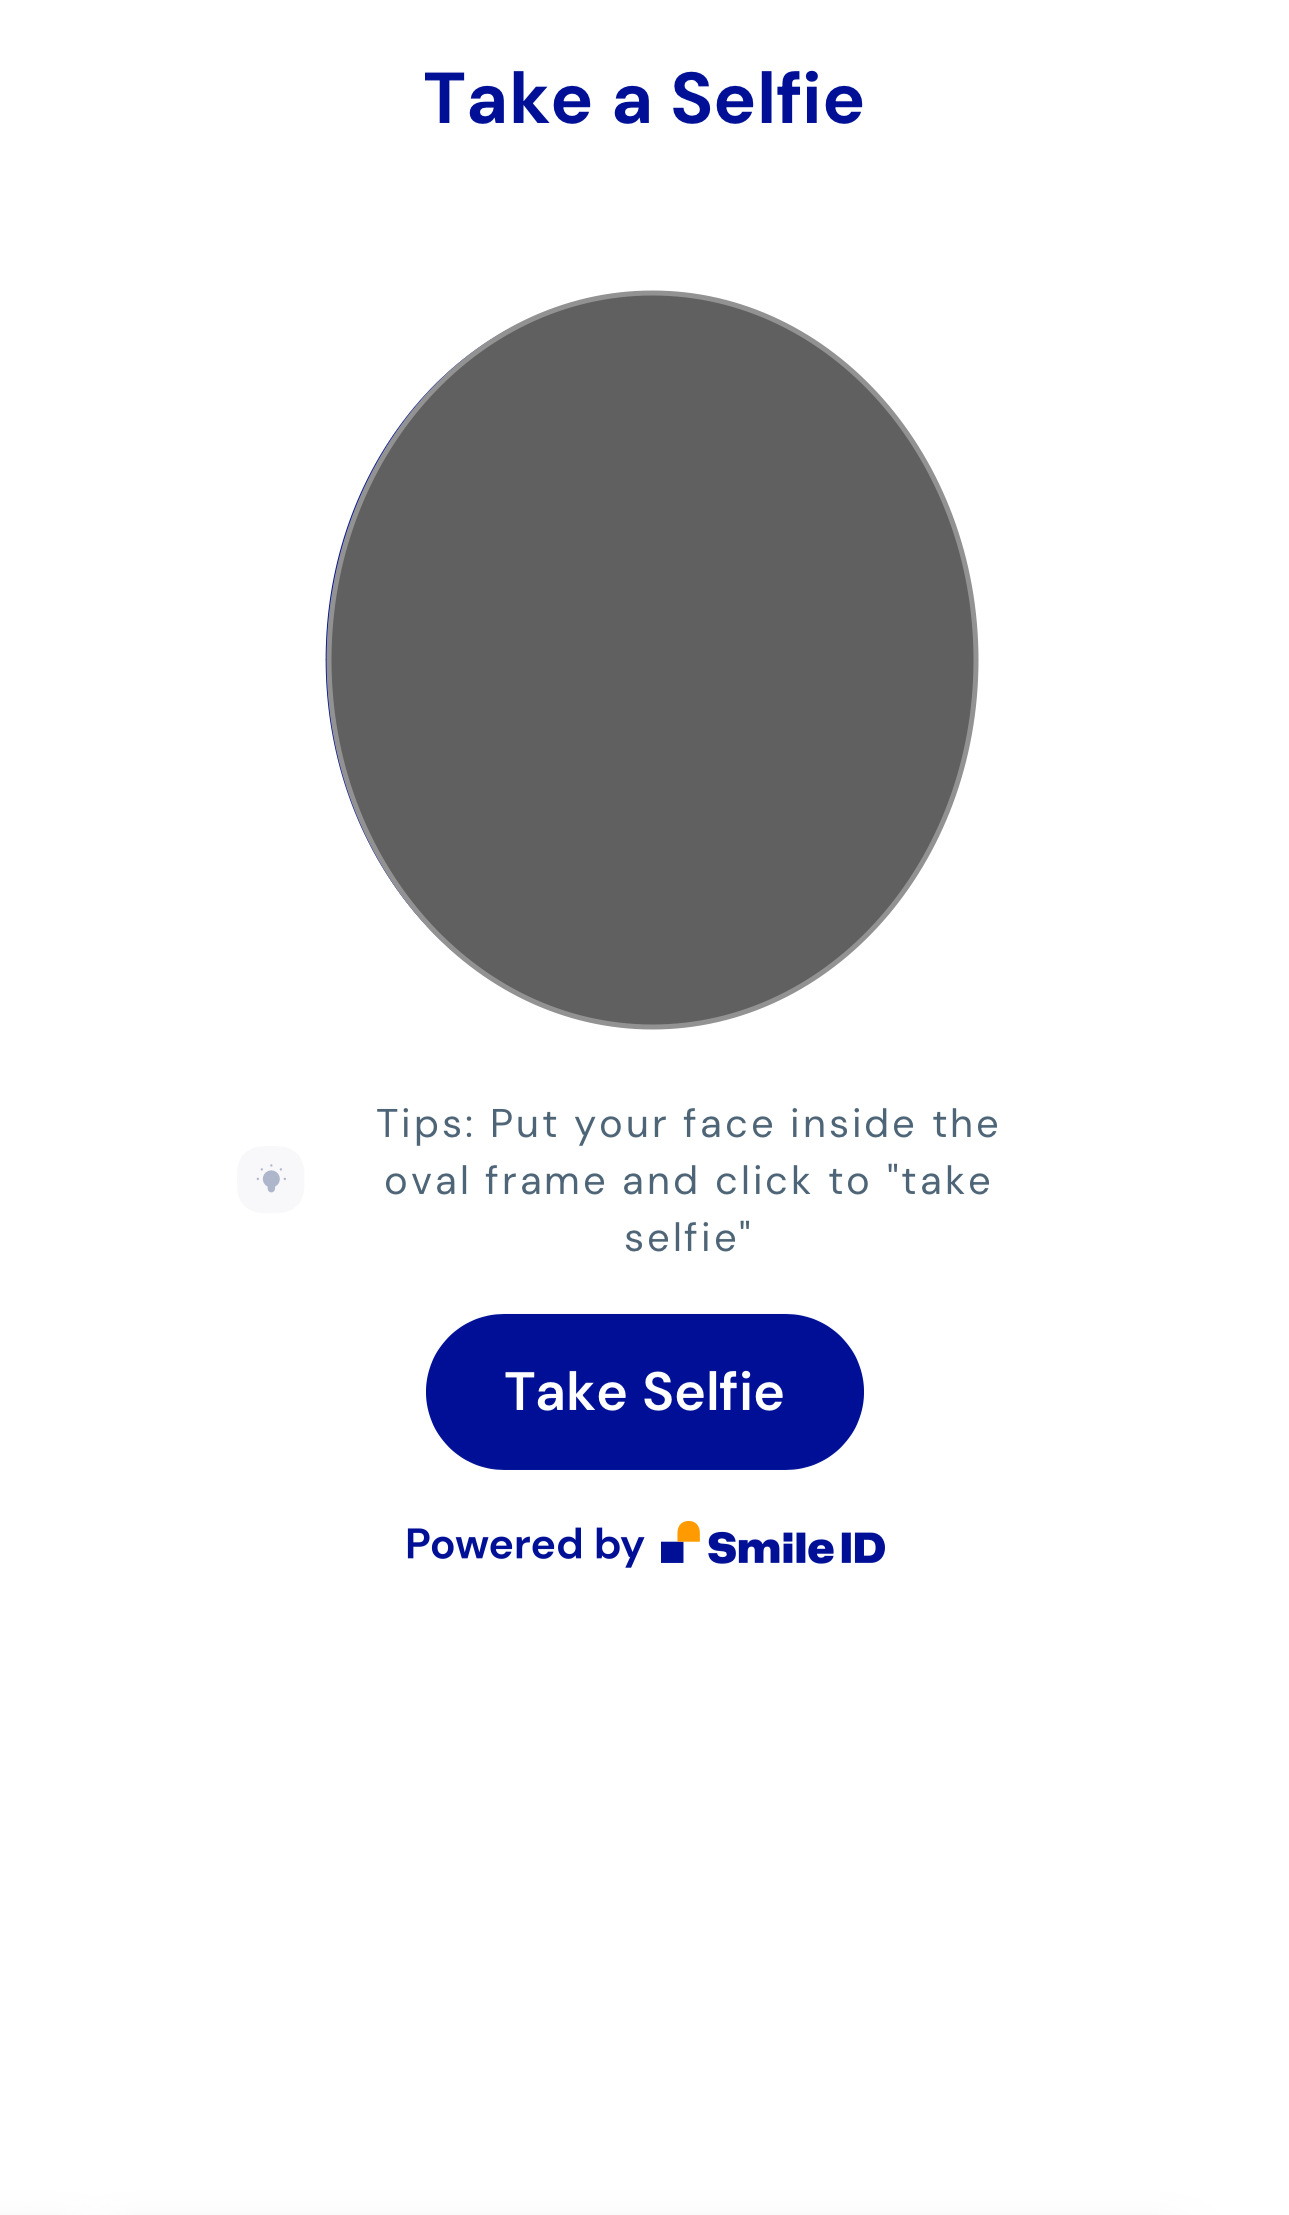
After granting access, the capture screen appears prompting the user to present their face and take a selfie:\
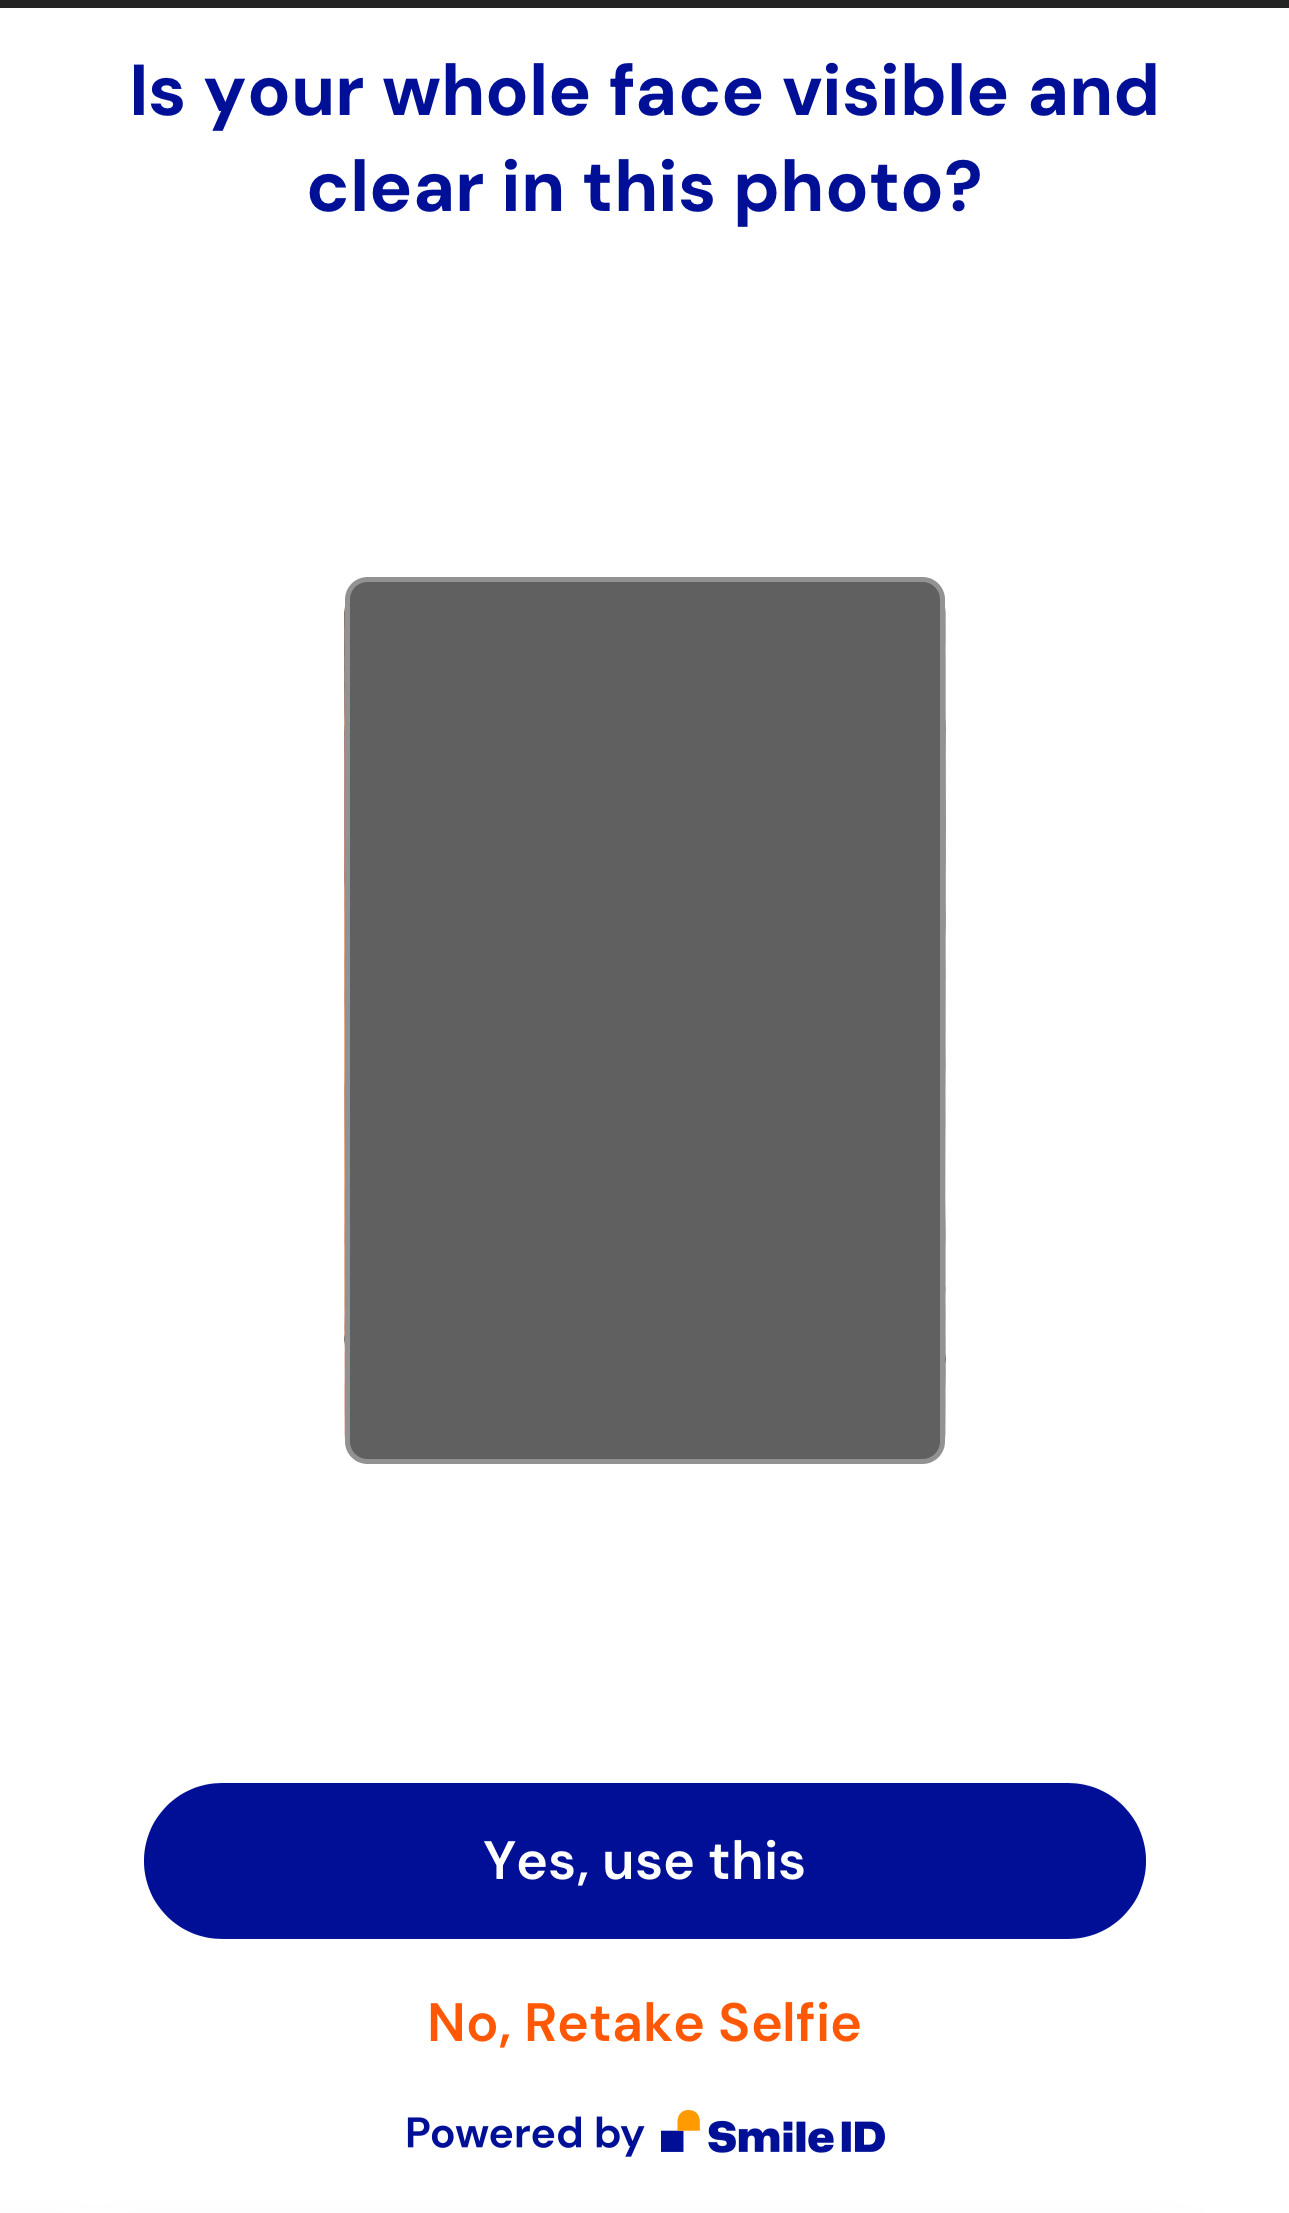
Upon capturing a selfie, you'll be presented with the review screen:\
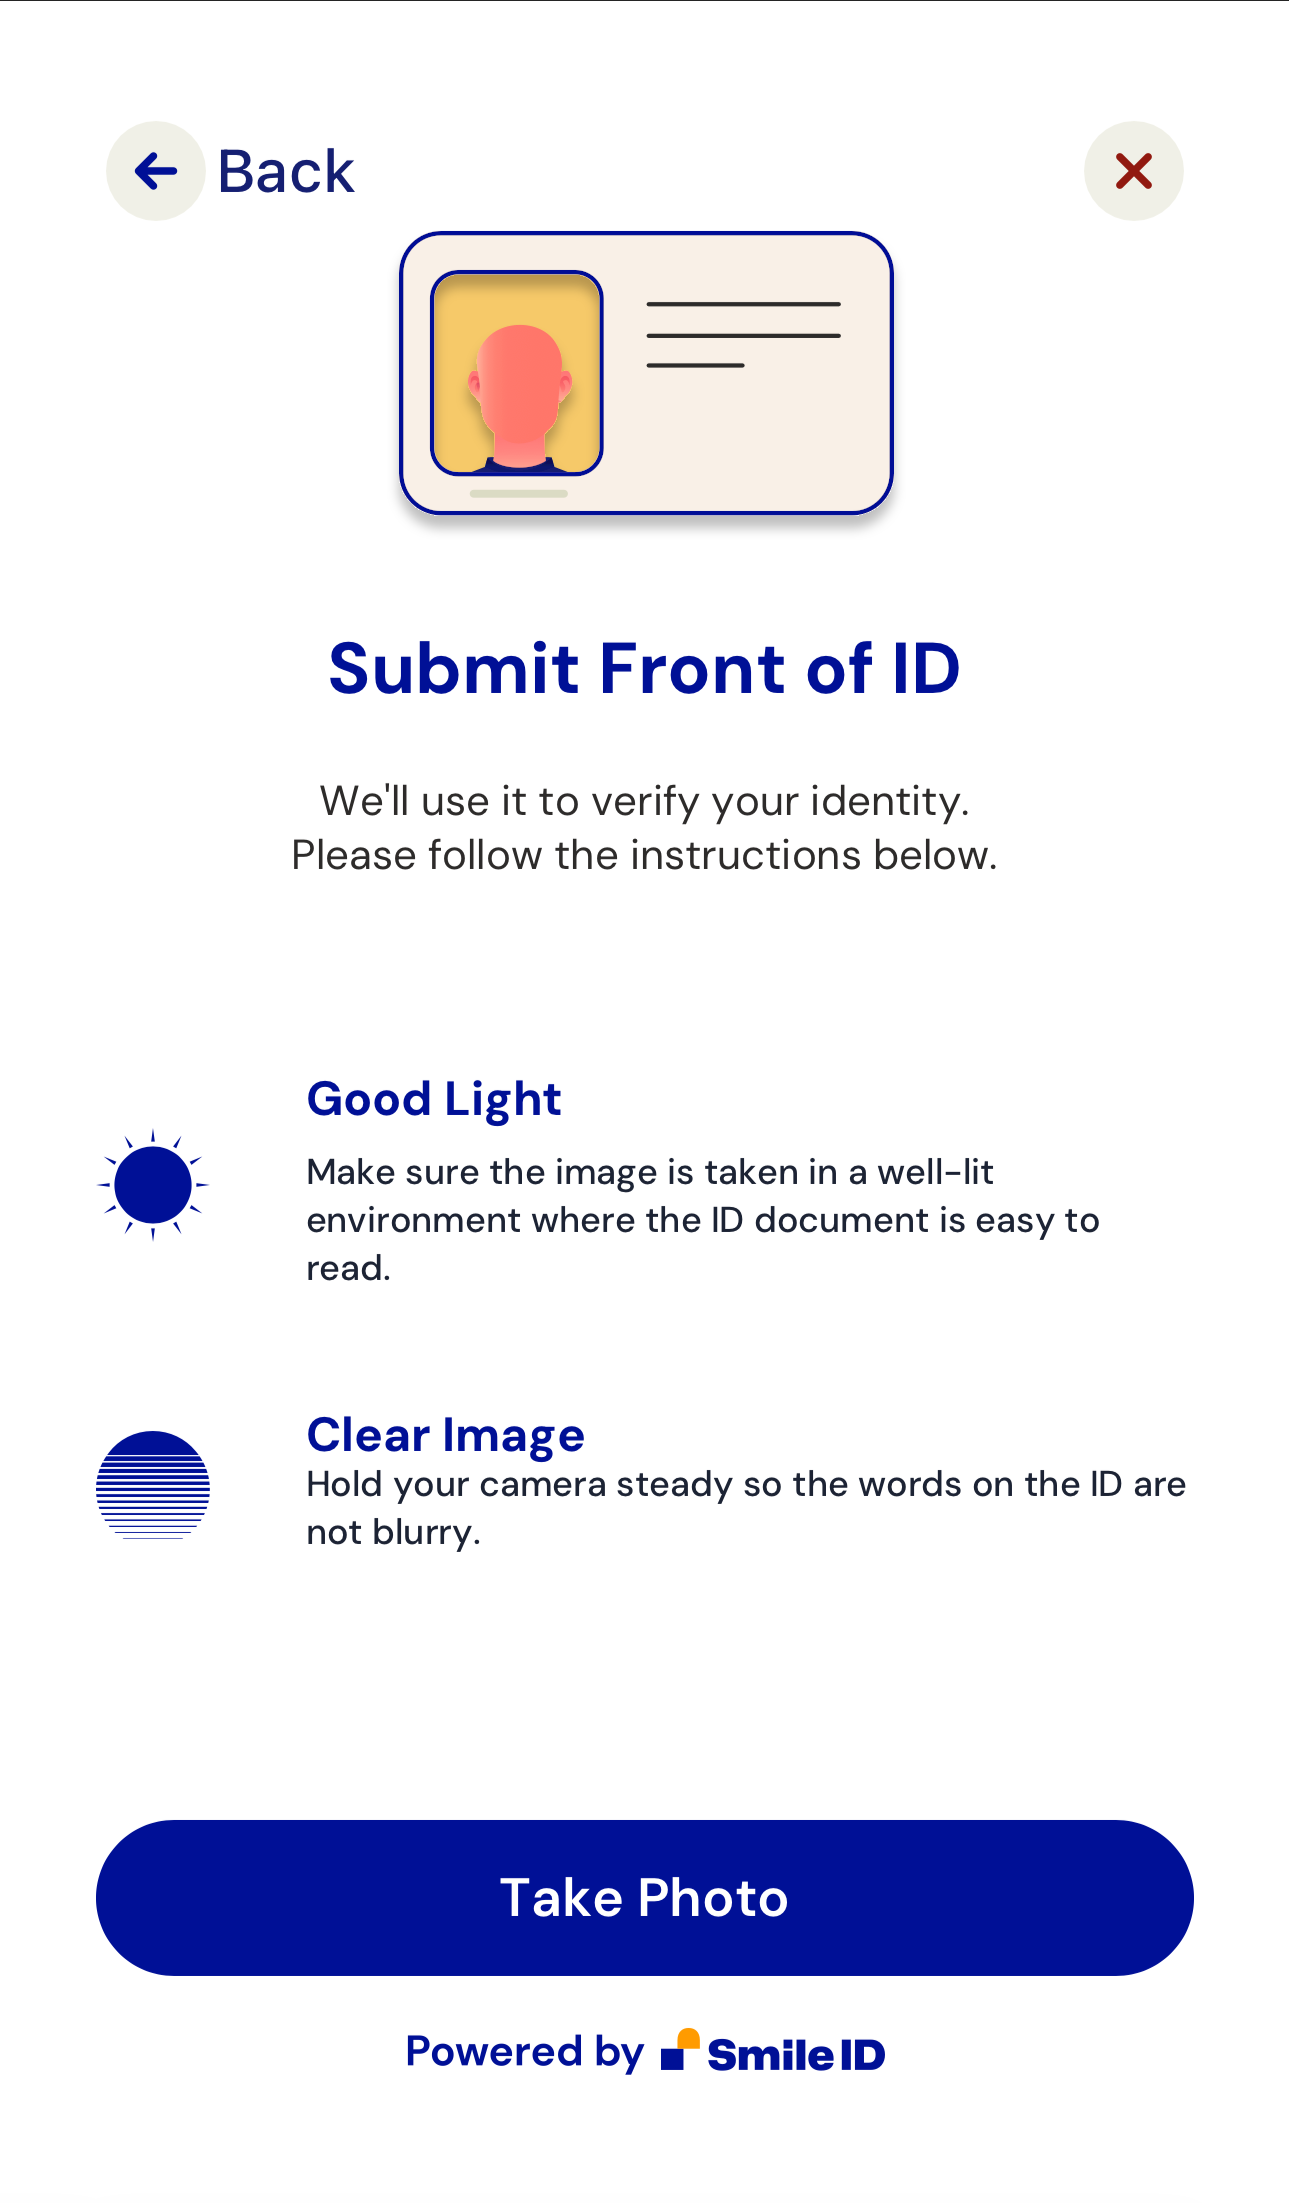
**Document Capture**
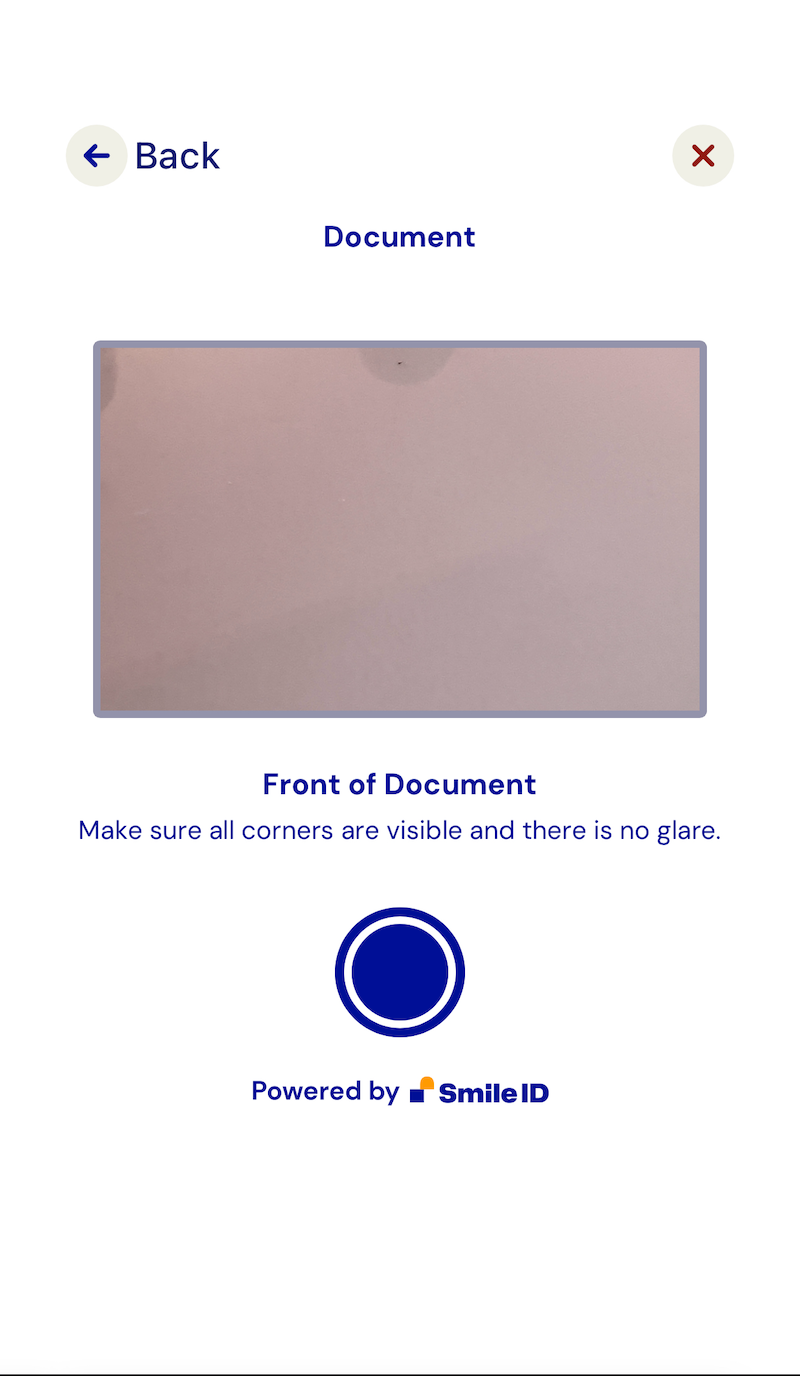
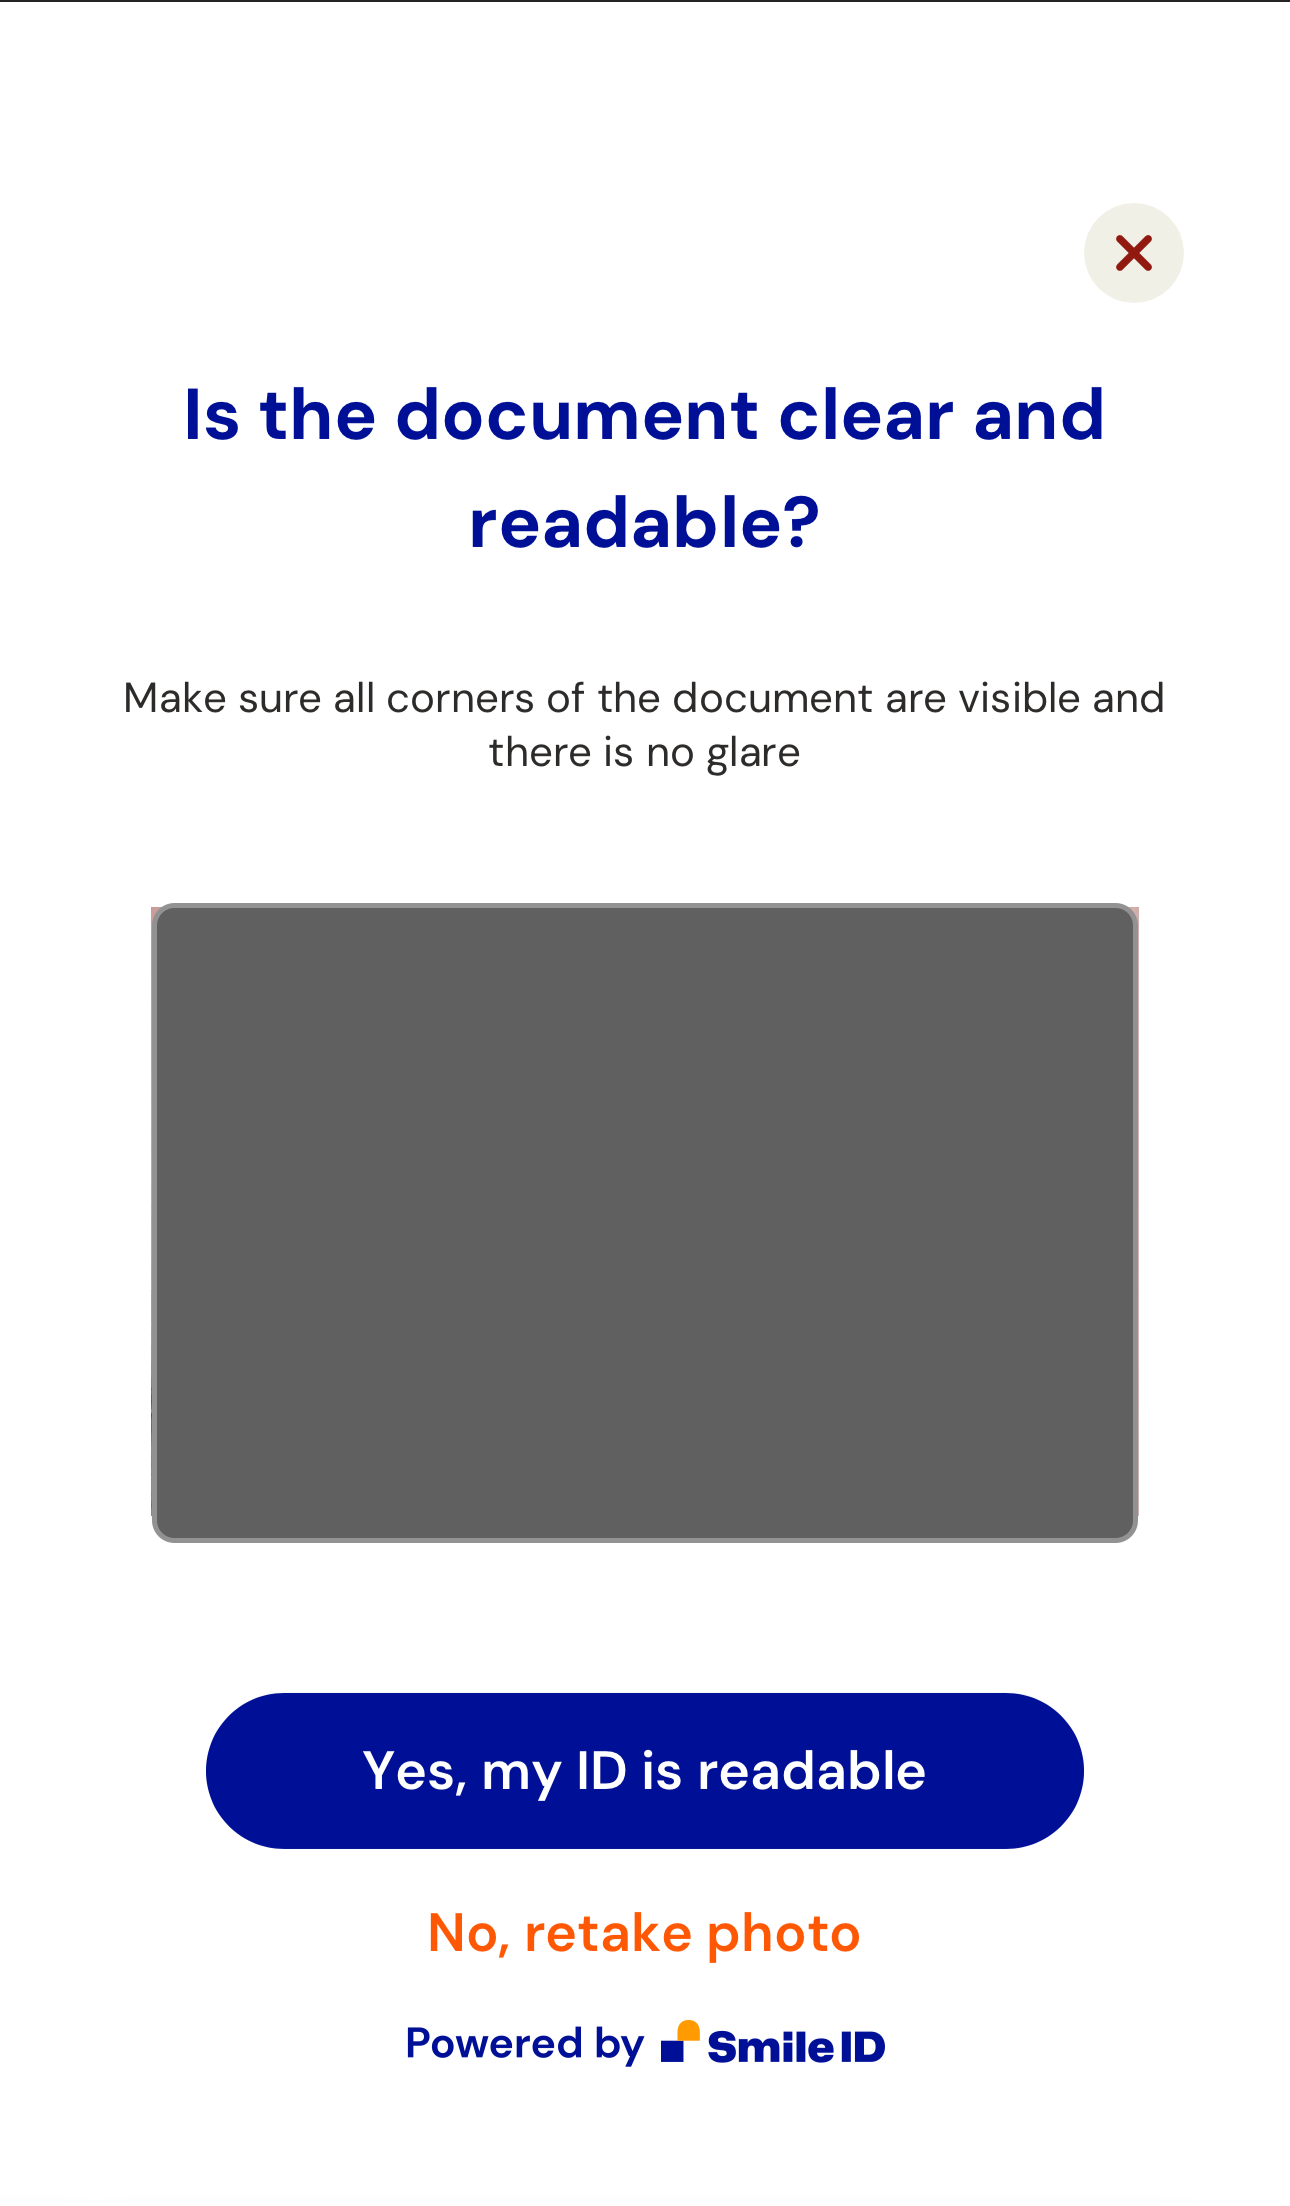
If the `capture-id` attribute is used, you will be presented with additional screens for document capture (front, back (optional by adding `hide-back-of-id` attribute), review):
**Capture front of document only**
```html
```
```html
```
2. Handle the `smart-camera-web.publish` event:
When the user approves the captured image, an `smart-camera-web.publish` event is dispatched. The event returns a [CustomEvent](https://developer.mozilla.org/en-US/docs/Web/API/CustomEvent/CustomEvent) payload in `e.detail`.
Here's a script example to handle the event and send data to a backend endpoint:
```html
```
{% hint style="info" %}
Note: when using the `selfie-capture-screens` listen to `selfie-capture-screens.publish` event to get the selfie and liveness images.\
For `document-capture-screens` listen to the `document-capture-screens.publish` event for the document image.\
More details [here](#handle-events)
{% endhint %}
The provided backend endpoint uses the NodeJS Server to Server library and ExpressJS:
```js
const express = require("express");
const { v4: UUID } = require("uuid");
if (process.env.NODE_ENV === "development") {
const dotenv = require("dotenv");
dotenv.config();
}
const SIDCore = require("smile-identity-core");
const SIDSignature = SIDCore.Signature;
const SIDWebAPI = SIDCore.WebApi;
const app = express();
app.use(express.json({ limit: "500kb" }));
app.use(express.static("public"));
app.post("/", async (req, res, next) => {
try {
const { PARTNER_ID, API_KEY, SID_SERVER } = process.env;
const connection = new SIDWebAPI(
PARTNER_ID,
"/callback",
API_KEY,
SID_SERVER,
);
const partner_params_from_server = {
user_id: `user-${UUID()}`,
job_id: `job-${UUID()}`,
job_type: 4, // job_type is the simplest job we have which enrolls a user using their selfie
};
const {
images,
partner_params: { libraryVersion },
} = req.body;
const options = {
return_job_status: true,
};
const partner_params = Object.assign({}, partner_params_from_server, {
libraryVersion,
});
const result = await connection.submit_job(
partner_params,
images,
{},
options,
);
res.json(result);
} catch (e) {
console.error(e);
}
});
// NOTE: This can be used to process responses. don't forget to add it as a callback option in the `connection` config on L22
// https://docs.usesmileid.com/further-reading/faqs/how-do-i-setup-a-callback
app.post("/callback", (req, res, next) => {});
app.listen(process.env.PORT || 4000);
```
This approach can also be achieved using other [Server to Server libraries](/integration-options/server-to-server.md).
## Handle Events
### Selfie and liveness images
To receive the images after they have been captured, you can listen to the custom event `selfie-capture-screens.publish`. The data posted to this event has the structure:
```json
{
"detail": {
"images": [{ "image": "base64 image", "image_type_id": "" }],
"meta": {
"version": "version of the library in use"
}
}
}
```
Usage:
```js
document
.querySelector("selfie-capture-screens")
.addEventListener("selfie-capture-screens.publish", function (event) {
console.log(event.detail);
});
```
Handling cancel event
```js
document
.querySelector("selfie-capture-screens")
.addEventListener("selfie-capture-screens.cancelled", function (event) {
console.log(event.detail);
});
```
Handling back event
```js
document
.querySelector("selfie-capture-screens")
.addEventListener("selfie-capture-screens.back", function (event) {
console.log(event.detail);
});
```
### Document Image
Capture events emit `document-capture-screens.publish`, providing captured images and metadata:
```json
{
"detail": {
"images": [{ "image": "base64-encoded image", "image_type_id": "" }],
"meta": {
"version": "library version"
}
}
}
```
To handle this event:
```js
document
.querySelector("document-capture-screens")
.addEventListener("document-capture-screens.publish", function (event) {
console.log(event.detail);
});
```
Handling cancel event
```js
document
.querySelector("document-capture-screens")
.addEventListener("document-capture-screens.cancelled", function (event) {
console.log(event.detail);
});
```
Handling back event
```js
document
.querySelector("document-capture-screens")
.addEventListener("document-capture-screens.back", function (event) {
console.log(event.detail);
});
```
## Compatibility
`SmartCameraWeb` is compatible with most JavaScript frameworks and libraries. For integration with [ReactJS](https://reactjs.org), refer to this [tutorial](https://www.robinwieruch.de/react-web-components) due to React-WebComponents compatibility issues.
## Support
Tested on the latest versions of Chrome, Edge, Firefox, and Safari. If compatibility issues arise on certain browsers, please notify us.
---
# Agent Instructions
This documentation is published with GitBook. GitBook is the documentation platform designed so that both humans and AI agents can read, navigate, and reason over technical content effectively. Learn more at gitbook.com.
## Querying This Documentation
If you need additional information that is not directly available in this page, you can query the documentation dynamically by asking a question.
Perform an HTTP GET request on the current page URL with the `ask` query parameter, and the optional `goal` query parameter:
```
GET https://legacy-docs.usesmileid.com/integration-options/web-mobile-web/javascript-sdk-beta/usage-1.md?ask=&goal=
```
`ask` is the immediate question: it should be specific, self-contained, and written in natural language.
`goal` is optional and describes the broader end goal you are ultimately trying to accomplish on behalf of the user. GitBook uses it to tailor the answer towards what is most useful for that goal.
The response will contain a direct answer to the question and relevant excerpts and sources from the documentation.
Use this mechanism when the answer is not explicitly present in the current page, you need clarification or additional context, or you want to retrieve related documentation sections.